- Commissioning
- Connect devices
- Webasto Live
Webasto Live
This page describes how to connect a Webasto Live charging station to the SOLARWATT Manager.
Table of contents
Compatibility
| EnergyManager pro | SOLARWATT Manager (flex 1.0 / flex 1.5 / rail) | |
|---|---|---|
| Webasto Live |
|
|
| Webasto Next |
|
|
| Full compatibility |
| No compatibility |
Possible number of controlled charging stations in the energy management system
| EnergyManager pro | SOLARWATT Manager (flex 1.0 / flex 1.5 / rail) | |
|---|---|---|
| Keba | 1 | 3 |
| Webasto (Live/Next) | 1 | 1 |
| Alfen | 1 | 3 |
Configuration for an installation on a SOLARWATT Manager flex
Interface: Ethernert
Applicable documents
Prerequisites
- the Webasto Live is connected to the network before switching on
- the Webasto RFID function is deactivated. RFID is not compatible with PV optimization (Note: the RFID function is activated at the factory.)
Webasto Live configuration
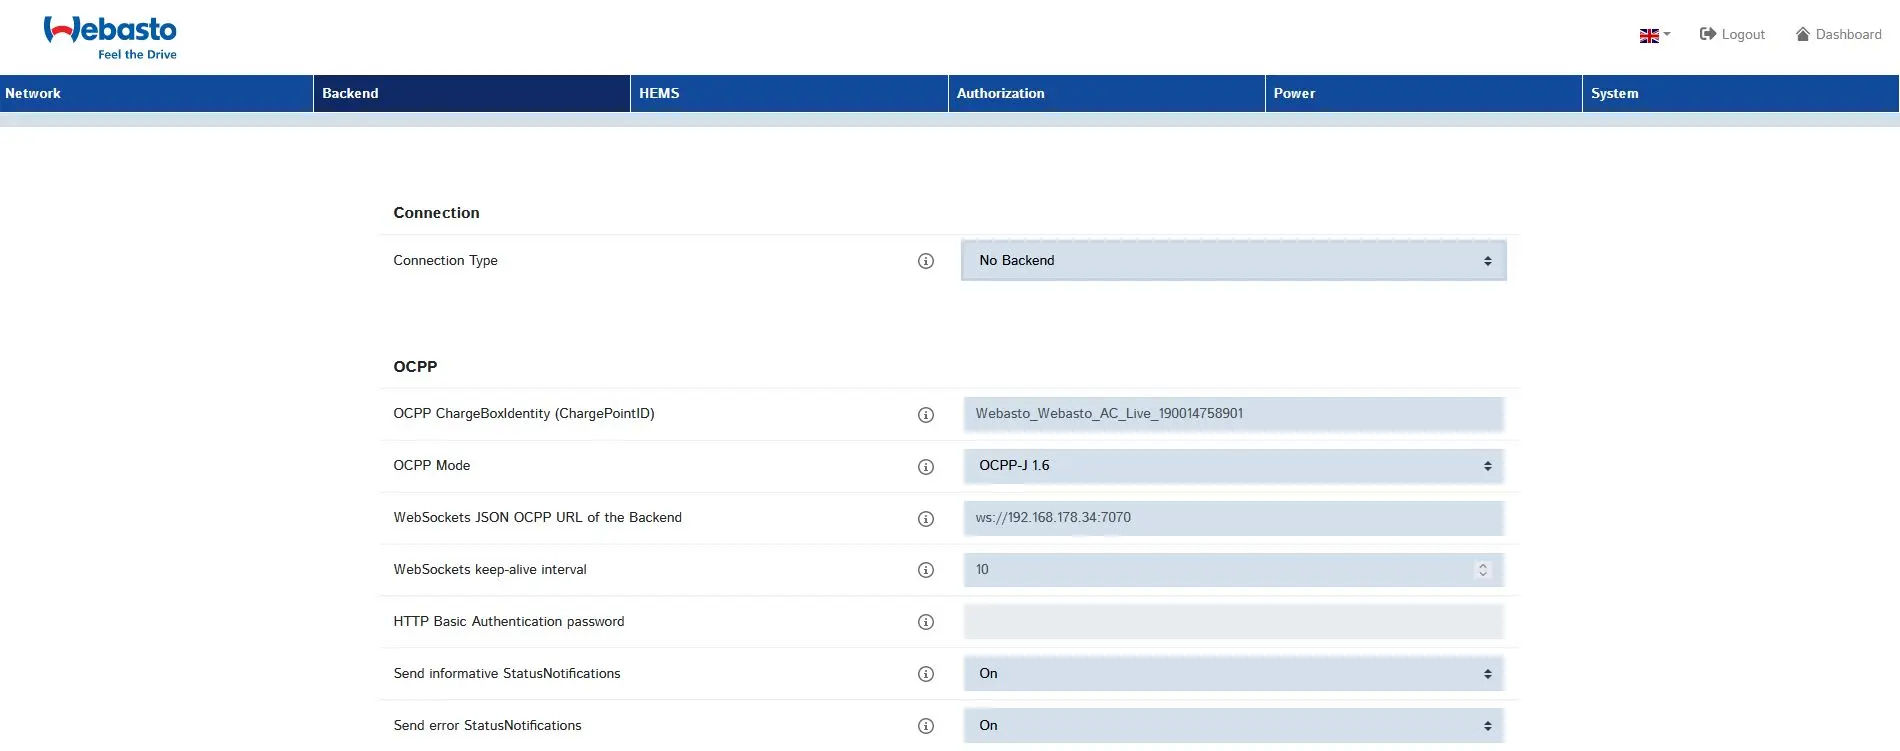
- Backend menu: Connection type No backend
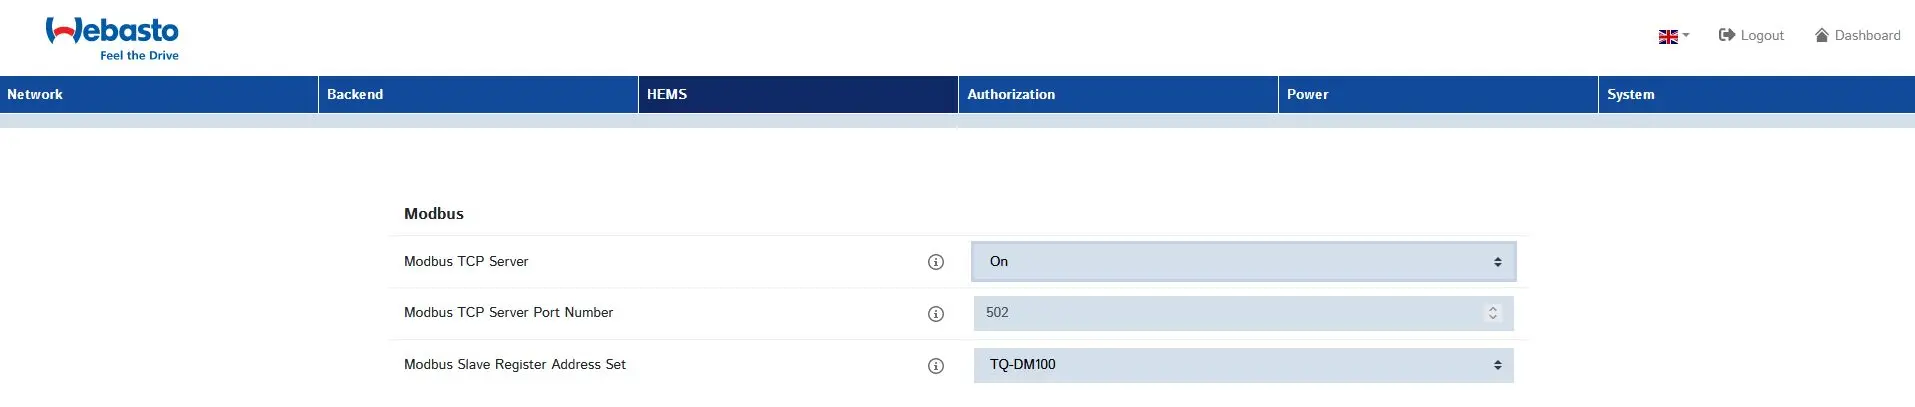
- HEMS menu: Activate Modbus TCP server, port (port number: 502), register set (register set: TQ-DM100)
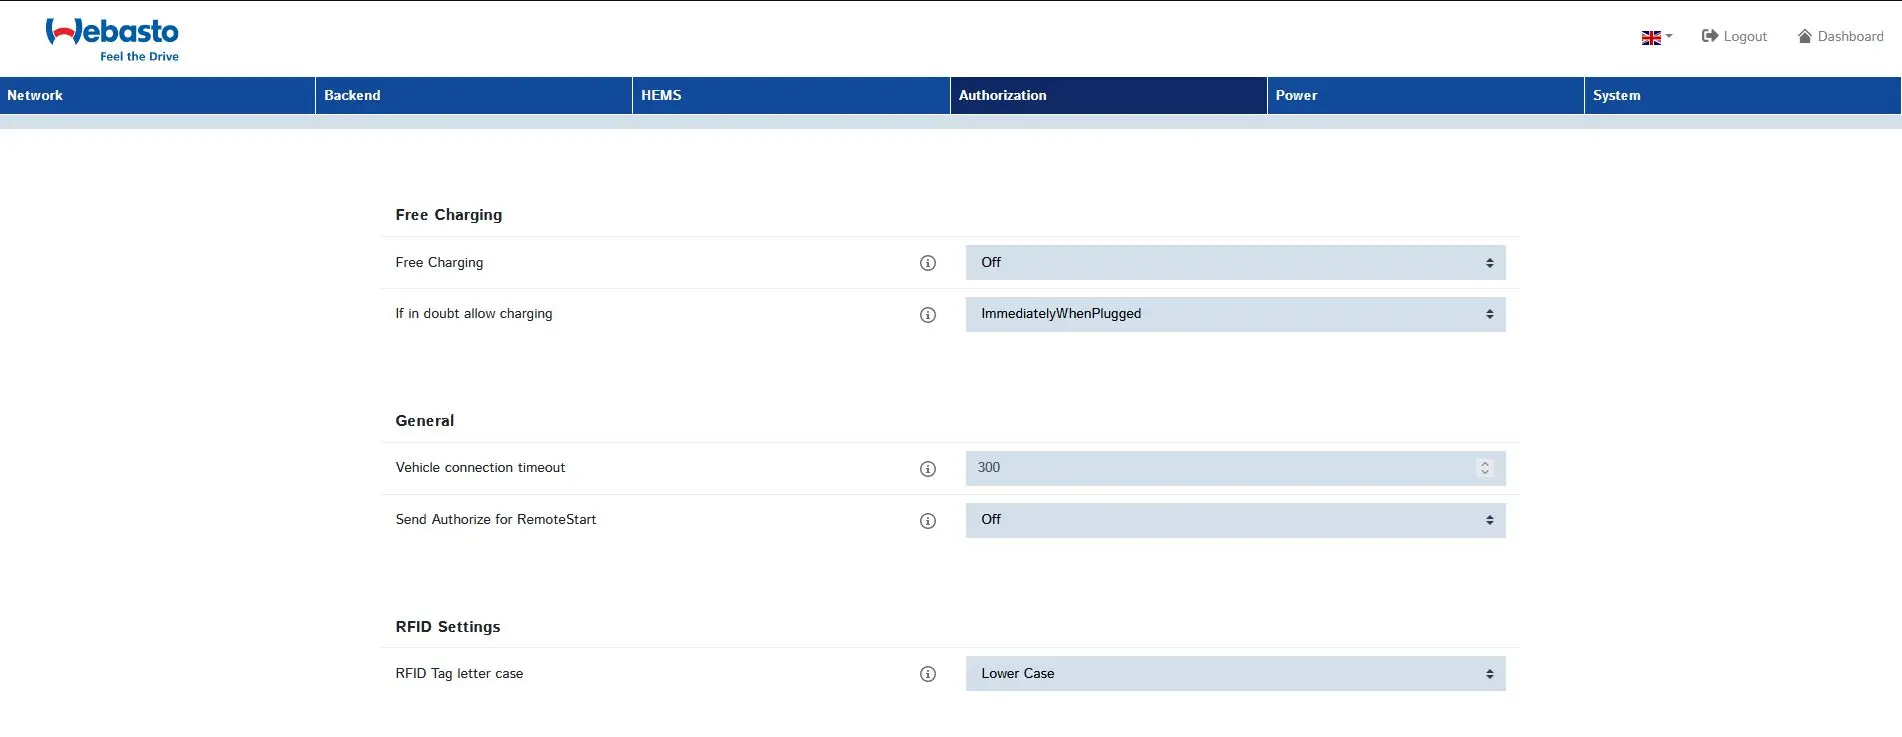
- Authorization menu: Free charging Off, When in doubt, allow charging Immediately after plugging in
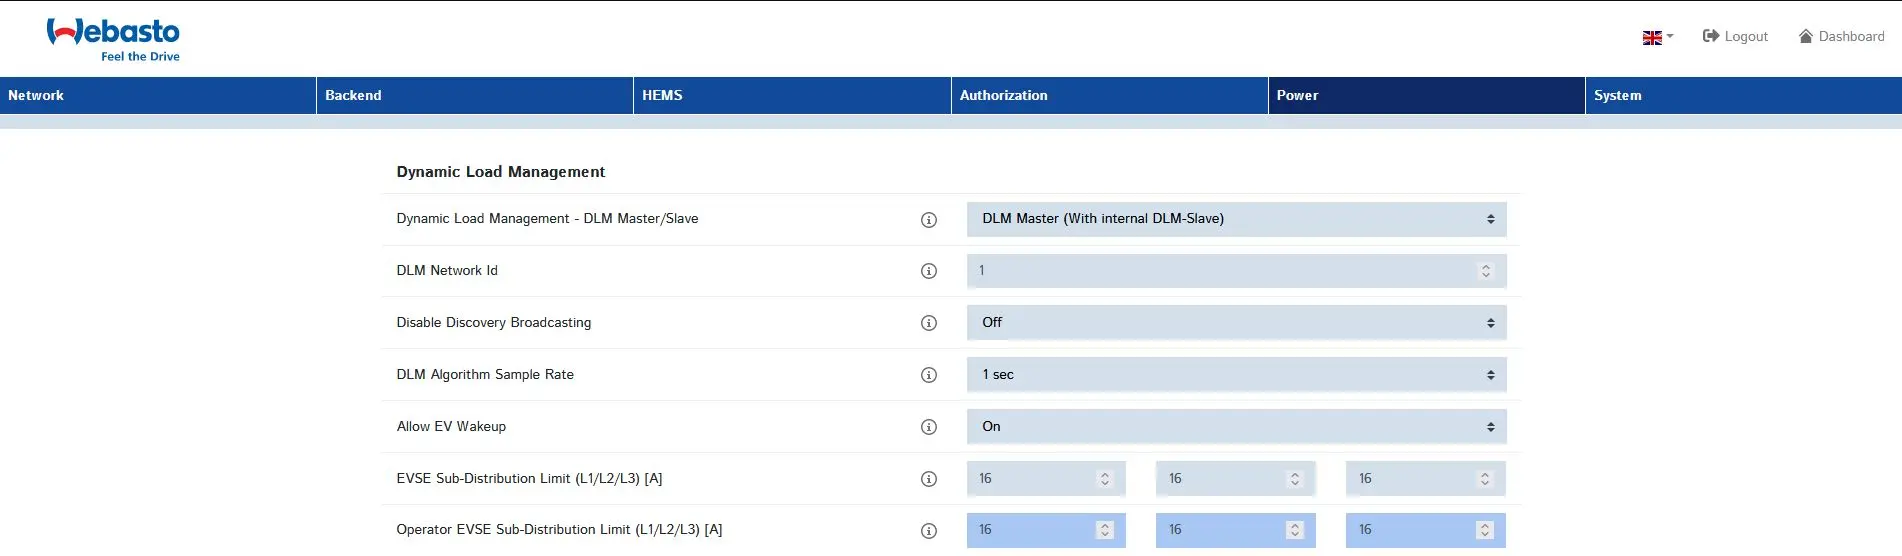
Power menu:
- Dynamic load management - DLM master/slave: DLM master (with internal DLM slave)
- DLM network ID: 1
- Deactivate discovery broadcasting: Off
- DLM algorithm sampling rate: 1 sec
- Allow wake-up of the electric vehicle: On
Charging device sub-distribution current limit and operator sub-distribution current limit:
- the value for the current intensity for charging device sub-distribution current limiting must not exceed the phase protection of the wallbox connection
- the value for the amperage for operator sub-distribution current limitation must not exceed the charging device sub-distribution current limitation
- Restart the Webasto Live (if necessary by disconnecting it from the power supply for approx. 1 minute)
Configuration for an installation on an EnergyManager pro
Interface: Ethernet
Applicable documents
Prerequisites
- the Webasto Live is connected to the network before switching on
- the Webasto RFID function is deactivated. RFID is not compatible with PV optimization. (Note: the RFID function is activated at the factory.)
Webasto Live configuration
Backend menu:
- Connection type: Ethernet
- OCPP mode: OCPP-J 1.6
- Websockets JSON OCPP URL:
ws://xxx.xxx.xxx.xxx:7070, enter the IP address of the EnergyManager for xxx
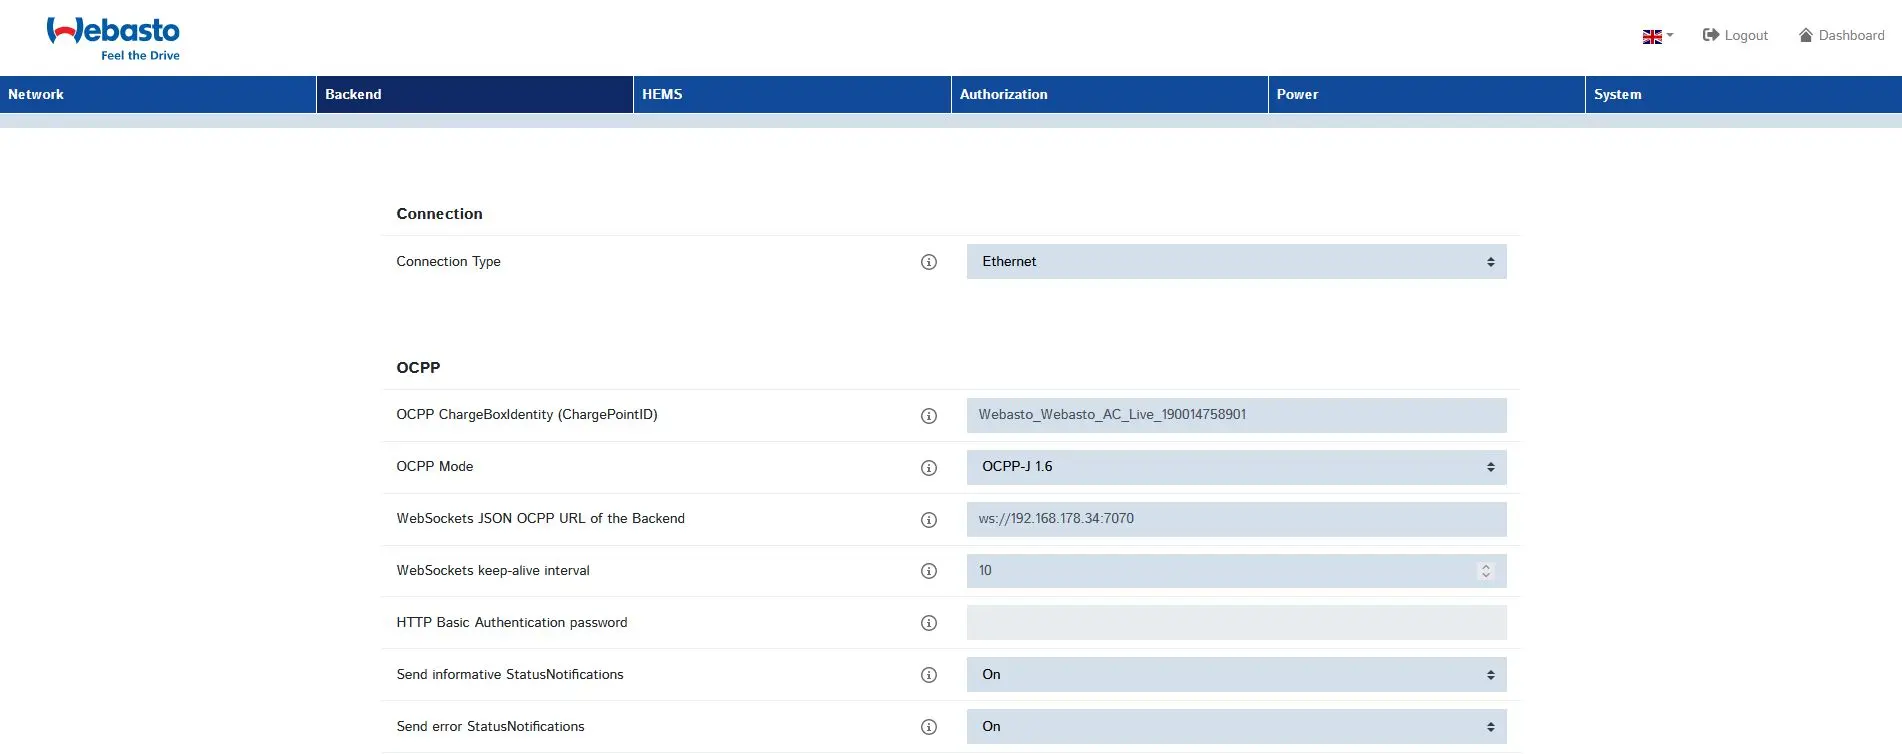
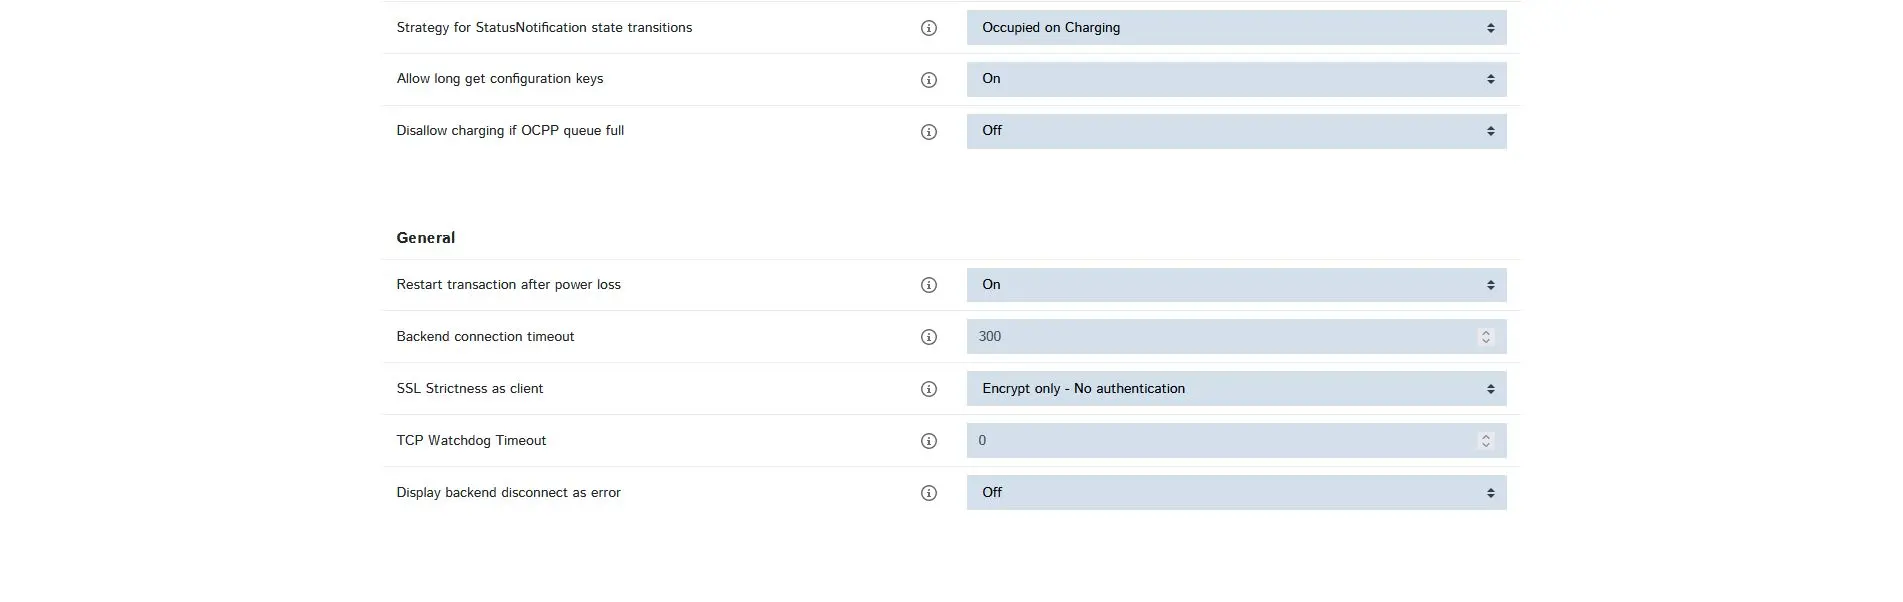
- SSL mode as client: Encrypt only - no authentication
HEMS menu: Deactivate Modbus TCP server

- Authorization menu: Free charging Off, When in doubt, allow charging Immediately after plugging in
Power menu:
- Dynamic load management - DLM master/slave: DLM master (with internal DLM slave)
- DLM network ID: 1
- Deactivate discovery broadcasting: Off
- DLM algorithm sampling rate: 1 sec
- Allow wake-up of the electric vehicle: On
Charging device sub-distribution current limit and operator sub-distribution current limit:
- the value for the current intensity for charging device sub-distribution current limitation must not exceed the phase protection of the wallbox connection
- the value for the amperage for operator sub-distribution current limitation must not exceed the charging device sub-distribution current limitation
- Restart the Webasto Live (if necessary by disconnecting it from the power supply for approx. 1 minute)
Device search in SmartSetup
Certain device types are found and installed automatically(Automatic installation)
Other device types must be installed by selecting the device driver and specifying the IP address or host name(manual installation).
Information on the installation types can be found in the table below.
Automatic installation
If the device is correctly configured and available in the network, it is displayed in green in the device list.
- If necessary, connect additional devices
- Continue with SmartSetup PV systems
Manual installation
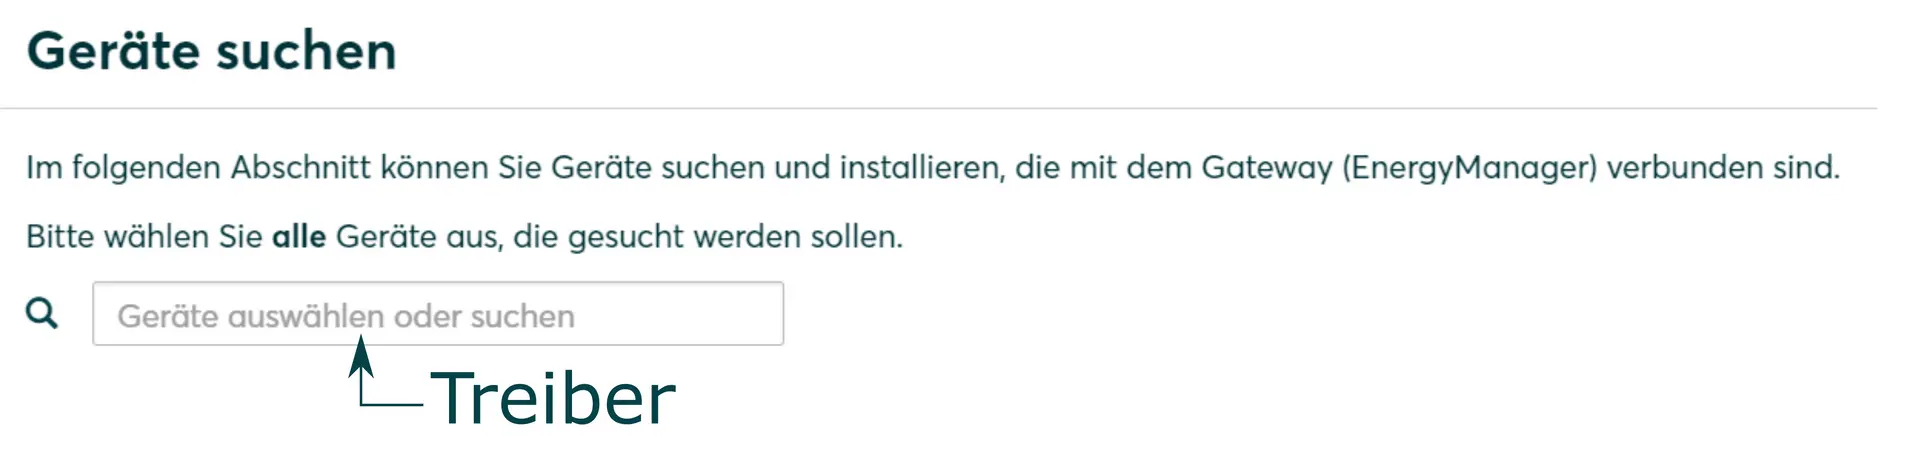
- Select Select devices in the drop-down menu or search for the corresponding entry according to the table below.
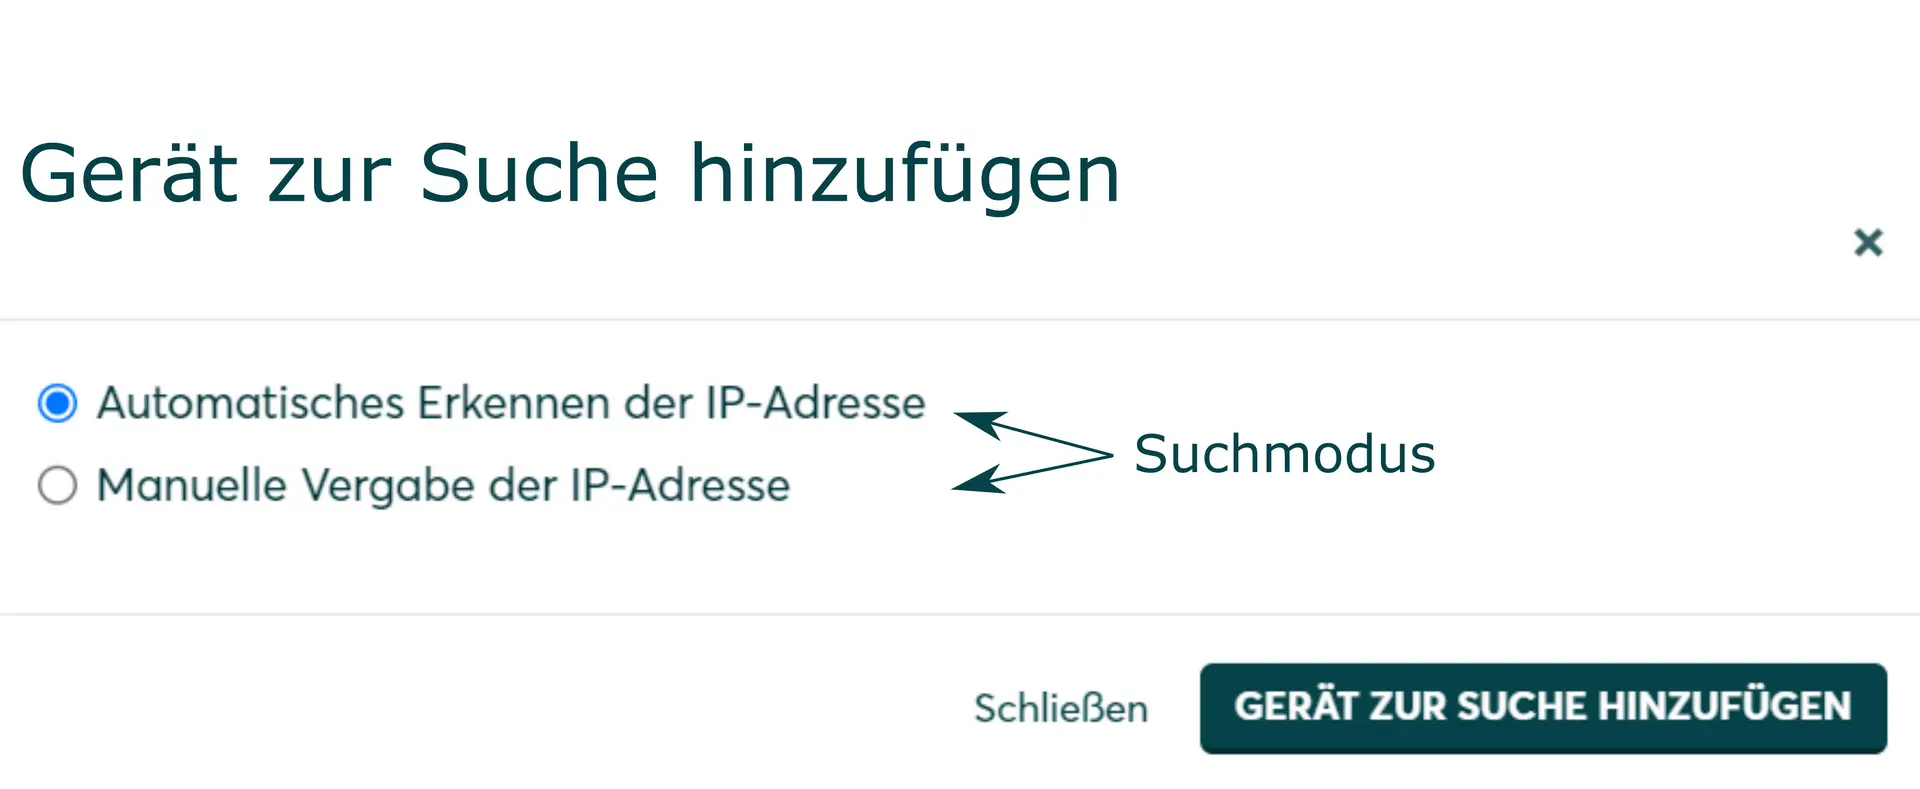
- Enter the required specifications according to the table below:
- Search mode
- iP address or host name, if applicable
- Click Add device to search.
- If necessary, add further devices to the search.
- Once you have added all the devices to be searched for, click Search for and install devices.
You can recognize correctly installed devices by the message: Device is installed. in the device list. The list also shows the current performance data.
- If necessary, connect additional devices.
- Continue with SmartSetup PV systems.
Driver selection for device search
| energyManager pro | SOLARWATT Manager (flex 1.0 / flex 1.5 / rail) | ||||
|---|---|---|---|---|---|
| Driver | Search mode | Driver | Search mode | ||
| Webasto Live | Webasto Live | Search and install device | Webasto Live/Next charging station | Serial number: can be viewed on the Webasto user interface (System menu) Host name or IP address: can be viewed via the router user interface Connected phases: see installation plan | |
Troubleshooting
If the device is not found via the automatic search / automatic IP detection, check whether the device is available in the local network (via network scan - note, a network scan requires the prior consent of your customer - or access to the local user interface of the router).
If necessary, restart the devices.
PV optimization settings
Additional settings are required to operate the device with a maximum proportion of solar power (PV optimization).
The settings for PV optimization are made in the SOLARWATT Manager portal under Optimizer.
Selected articles: